How to transfer data from Micromed software to the HIP
It is possible to seamlessly synchronize a database created with Micromed software (SystemPLUS EVOLUTION software) so it is available in the HIP user’s Private Space. This requires to set up a synchronized folder using the Nextcloud client as explained in the How to prepare and upload data to the HIP guide and then create the database in said folder.
Once the Nextcloud synchronized folder is ready, take the following steps:
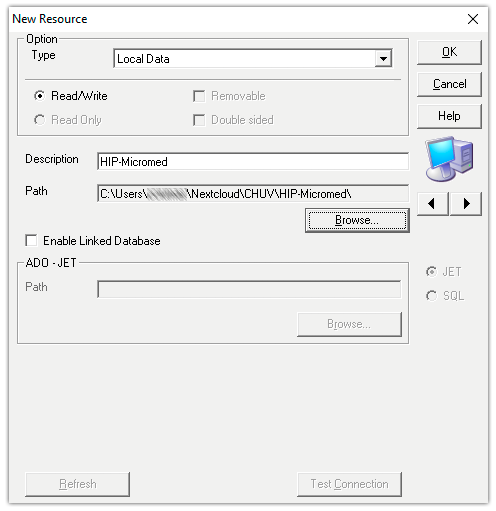
1. Create a new database. In the SystemPLUS EVOLUTION software, go to your System View and create a new Database. the name of the database must be “HIP-Micromed” and the path to the database should be inside the Nextcloud synchronized folder.
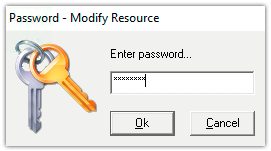
2. Specify the password. The password has to be “micromed” in order to initialize the database.
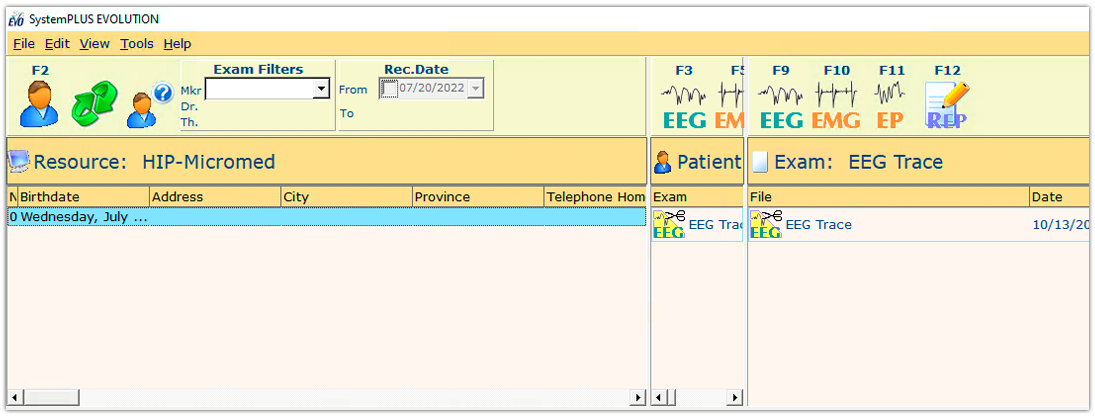
3. Check the new database. Your new database is created and should be visible in the SystemPLUS EVOLUTION software.
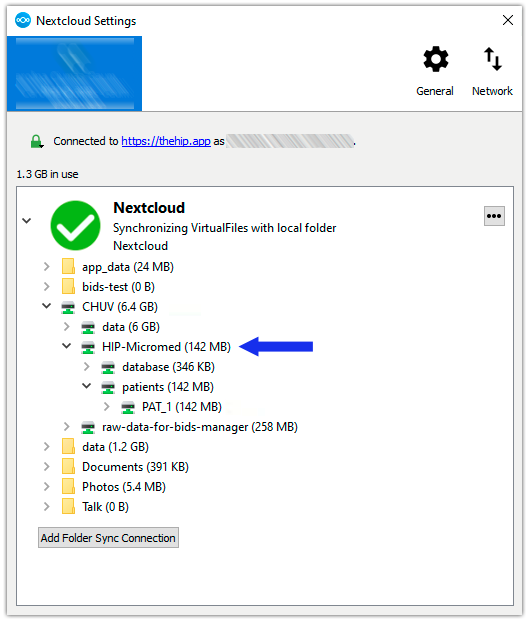
4. Check the synchronization. Check in Nextcloud settings that the newly created “HIP-Micromed” database appears in the synchronized folder.
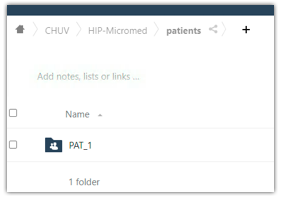
5. Transfer data to the HIP. Any data imported into the “HIP-Micromed” database using the SystemPLUS EVOLUTION software are now accessible in the HIP user’s Private Space.